DIY Floating Wood Shelves: Step-by-Step Instructions for a Stylish Kitchen
Floating wood shelves are an elegant and practical addition to any kitchen. They not only provide additional storage but also add a touch of modern design to your space. With a bit of creativity and some basic tools, you can create your own stylish floating shelves that perfectly match your kitchen’s decor. In this article, we will guide you through the process of building your own floating wood shelves, offering tips, tricks, and inspiration along the way.
Understanding Floating Shelves
Before diving into the DIY process, it’s essential to understand what floating shelves are. Unlike traditional shelves, floating shelves are mounted directly to the wall without visible brackets. This creates a clean, streamlined look that can make your kitchen appear more spacious and modern.
Benefits of Floating Shelves in the Kitchen
- Space-Saving: Floating shelves utilize vertical space, allowing you to store items without occupying floor space.
- Versatility: They can be used for displaying decorative items, storing dishes, or holding spices and cookbooks.
- Design Element: Floating shelves can enhance your kitchen’s aesthetic, adding warmth and character.
- Customization: You can choose the wood type, finish, and size to match your kitchen style.
Materials and Tools Needed
Before starting your project, gather the following materials and tools:
- Materials:
- Wood boards (e.g., pine, oak, or plywood)
- Wood screws
- Wall anchors (if necessary)
- Sandpaper (various grits)
- Wood stain or paint (optional)
- Wood glue (optional)
- Tools:
- Drill and drill bits
- Saw (circular or miter saw)
- Level
- Tape measure
- Pencil
- Stud finder
- Clamps (optional)
Step-by-Step Instructions for Building Floating Wood Shelves

Step 1: Planning and Measuring
Start by determining where you want your floating shelves to be located. Consider the height and spacing based on what you plan to store or display. Measure the area carefully and mark the locations with a pencil.
Step 2: Choosing the Wood

Select the type of wood you want to use for your shelves. For example, pine is affordable and easy to work with, while oak offers a more durable and elegant finish. Make sure the wood boards are at least 1 inch thick for sturdiness.
Step 3: Cutting the Wood
Using your saw, cut the wood to your desired length. Make sure to wear safety goggles and follow all safety precautions. For a more polished look, consider mitering the edges at a 45-degree angle.
Step 4: Sanding the Edges
Once you’ve cut your wood, sand the edges and surfaces using progressively finer sandpaper to eliminate splinters and create a smooth finish. This step is crucial for achieving a professional look.
Step 5: Staining or Painting the Wood (Optional)
If you want to add color or enhance the natural wood grain, apply wood stain or paint. Allow it to dry completely before proceeding to the next step. Remember to follow the manufacturer’s instructions for the best results.
Step 6: Installing the Brackets
Floating shelves require a secure mounting system. To create a hidden bracket, you can use a simple method involving a piece of wood that gets mounted to the wall:
- Cut a rectangular piece of wood (the same width as your shelf) that will serve as the bracket.
- Attach this piece securely to the wall using screws and wall anchors, ensuring it is level.
- Mark the position where the shelf will sit and drill holes into the back of the shelf to fit over the bracket.
Step 7: Mounting the Shelf

Carefully lift the shelf and slide it onto the bracket. Use a level to ensure it is straight. If necessary, secure the shelf to the bracket with screws for extra stability.
Step 8: Final Touches
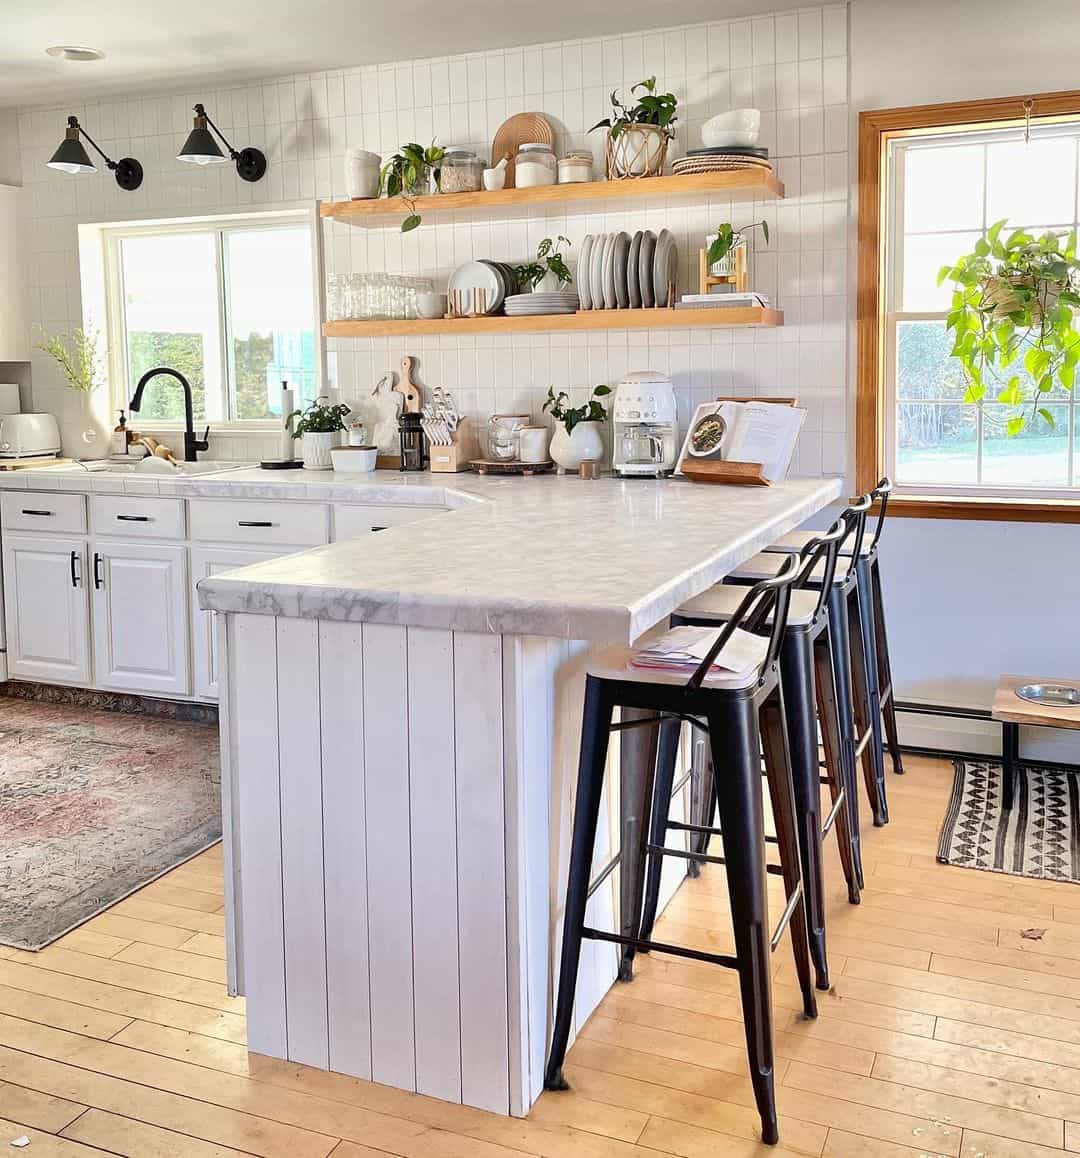
Once the shelves are installed, you can style them with your favorite kitchen items. Consider using matching containers, decorative books, or even plants to enhance the visual appeal of your shelves.
Styling Tips for Your Floating Shelves

Styling your floating shelves is just as important as building them. Here are some tips to create a cohesive and stylish look:
- Mix Heights: Vary the heights of your items to create visual interest.
- Use Color: Incorporate colorful dishes or decor to add personality.
- Add Greenery: Plants can bring life to your shelves and improve air quality.
- Group Items: Use odd numbers when grouping items for a more dynamic look.
Case Studies: Successful Floating Shelf Installations
Many homeowners have successfully integrated floating shelves into their kitchens. Here are a couple of notable examples:
- The Minimalist: A homeowner in a small apartment utilized white floating shelves to display a curated collection of cookbooks and herbs. The shelves provided functionality without overwhelming the compact space.
- The Rustic Charm: A country-style kitchen featured reclaimed wood floating shelves that beautifully complemented the farmhouse aesthetic. This installation showcased dishware and vintage kitchen tools, creating a warm and inviting atmosphere.
Statistics on Floating Shelves in Modern Kitchens

According to a recent survey by the National Kitchen and Bath Association (NKBA), floating shelves are among the top five design trends in modern kitchens. About 78% of homeowners surveyed expressed interest in incorporating floating shelves due to their versatility and stylish appeal.
Creating your own DIY floating wood shelves is an excellent way to enhance your kitchen’s functionality while adding a touch of style. With careful planning, the right materials, and a bit of creativity, you can build shelves that not only meet your storage needs but also serve as a beautiful design feature. Remember to take your time during each step, and don’t hesitate to customize the design to reflect your personal taste. Whether you go for a minimalist approach or a rustic charm, your floating shelves can transform your kitchen into a stylish and organized space.
In summary, floating wood shelves offer both practical storage solutions and aesthetic appeal. By following the outlined steps and tips, you can create a stunning kitchen feature that showcases your personality and style. Happy DIYing!


